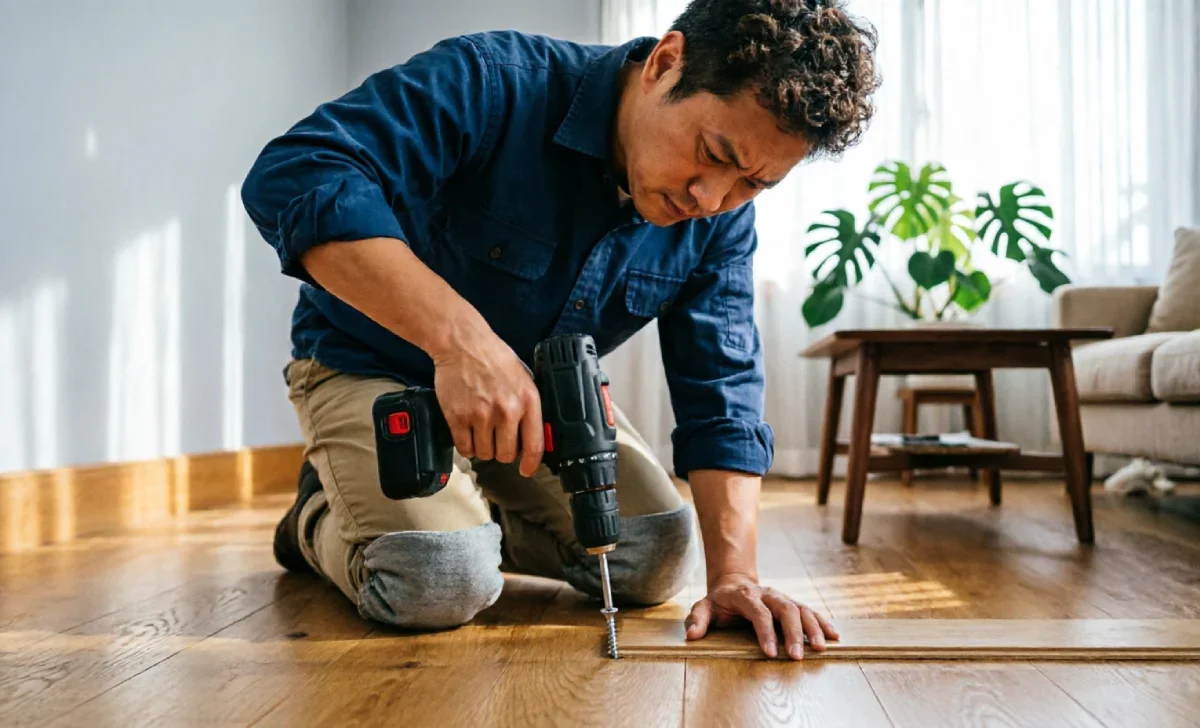
This Squeaky Floorboard Repair Guide walks you through why it happens and how to shut it up, step by step.
You don't need a contractor's toolbox or a fat budget to quiet things down. Most squeaks come from small gaps or loose boards, and a little know-how fixes them fast. This guide breaks it down floor type by floor type, so you can grab the right fix without guessing, wasting a weekend, or calling in a pro for something you can handle yourself in under an hour.
Why Floors Squeak in the First Place
Every solid Squeaky Floorboard Repair Guide starts with the cause, not the fix. Wood moves. It shrinks in dry winters and swells when it's humid, and that constant push and pull loosens the boards over time. Once a board separates slightly from the joist below, it rubs, and that rub is your squeak.
Nails also work themselves loose over the years. Foot traffic, seasonal shifts, and basic wear pull fasteners out just enough to create friction. Add a little dust or grit between the wood, and every step turns into a tiny screech.
Sometimes the subfloor itself is the culprit. If it wasn't screwed down tight during construction, it flexes under weight, and that flex is where the noise starts.
How to Diagnose the Noisy Spot
The second step in any Squeaky Floorboard Repair Guide is finding the exact spot before you touch a single tool. Grab a friend, some chalk, and a flashlight. Walk slowly across the room while your friend marks every spot that squeaks, since pinpointing the exact board matters more than guessing.
Check below if you can access a basement or crawl space, because seeing the joists and subfloor tells you exactly where the gap sits. A helper walking above while you watch below speeds this up a ton.
No access below? Press down on the boards near the noise with your hand or foot. A little give or movement usually points right to the loose spot.
Tools You'll Need Before You Start
No Squeaky Floorboard Repair Guide is complete without the right gear list. Before you touch a single board, gather your gear. Having everything on hand keeps the repair quick and stops you from climbing up and down stairs five times.
| Tool | Use |
|---|---|
| Construction adhesive | Bonds loose subfloor to joists |
| Deck screws | Pulls boards tight without splitting wood |
| Squeak-eliminator kit | Drives fasteners from above without visible holes |
| Wood shims | Fills gaps between joist and subfloor |
| Powdered graphite or talc | Lubricates carpet-covered squeaks |
A cordless drill, a stud finder, and a bit of wood glue round out the basics. Most of this sits in a typical garage already.
Fixing Squeaks Under Hardwood Floors
Hardwood squeaks respond well to screws driven at an angle through the board into the joist. This pulls the wood down tight and closes the gap, causing the friction.
Find the joist first with a stud finder, then drive a trim-head screw through the board at a slight angle. Countersink it slightly and fill the tiny hole with matching wood putty.
If the board is warped rather than loose, adding a thin shim into the gap from below often solves it without touching the surface at all.
Fixing Squeaks Under Carpet
Carpeted floors hide the problem but don't stop it. A squeak-eliminator tool works through the carpet fibers and drives a fastener straight into the joist below, no cutting or lifting required at all.
Locate the joist through the carpet using a stud finder set to detect wood, then position the tool directly over that spot before triggering it. The head snaps off below the surface.
For a temporary fix, sprinkling talc or powdered graphite into the seam between boards cuts friction. It's not permanent, but it buys time before a full repair job.
Fixing Squeaks in Laminate or Engineered Floors
Laminate floats above the subfloor, so most squeaks trace back to an uneven surface underneath rather than the planks themselves. Fixing the subfloor usually solves it.
Small gaps in the underlayment cause boards to flex against each other. Injecting a bit of construction adhesive between the planks, where possible, tightens things up without removing the flooring.
Severe cases might need you to lift a section, level the subfloor with self-leveling compound, and reinstall the planks. It's more work, but it lasts.
Safety Precautions Before You Dig In
Always wear eye protection and gloves when driving screws or using power tools near flooring. Splinters and metal shavings happen more than people expect.
Check for wiring or plumbing beneath the floor before drilling anything. A quick look with a stud finder that detects wiring saves you from a very expensive mistake.
Working in a crawl space? Bring a headlamp, watch for low clearance, and never work alone in a tight or poorly ventilated space.
Preventing Squeaks Before They Start
The best Squeaky Floorboard Repair Guide doesn't just fix squeaks; it stops new ones from forming. Keeping humidity levels steady indoors reduces the wood movement that causes squeaks in the first place. A basic humidifier or dehumidifier, depending on your season, helps a lot more than people expect.
New construction benefits from screwing the subfloor down instead of just nailing it. Screws grip tighter and resist the seasonal shifting that loosens nails over time.
Regular maintenance catches small gaps before they become full-fledged squeaks, so a yearly walk-through with your ear to the floor pays off.
Common Mistakes People Make
Skipping the diagnosis step trips up a lot of DIYers following a Squeaky Floorboard Repair Guide for the first time. Guessing at the noisy board wastes screws, time, and patience, so always mark the spot first before you drill anything.
Using nails instead of screws is another classic misstep. Nails work loose again within months, while screws hold their grip far longer under regular foot traffic.
Overtightening screws can crack hardwood or laminate. Snug is the goal, not crushing the board flat against the joist below it.
Maintenance Tips to Keep Floors Quiet
Vacuum along seams regularly to keep grit from working into gaps between boards, since debris accelerates the friction that causes squeaks over time.
Reapply lubricant like powdered graphite every few months in high-traffic carpeted areas if squeaks return, especially during dry winter months when wood contracts.
Check screws and fasteners every year or two, tightening anything that's worked loose before it turns into a full squeak again. A five-minute check now saves a bigger repair down the road.
When to Call a Professional
Persistent squeaks across an entire room, sagging floors, or visible structural damage mean it's time to bring in a flooring pro rather than push forward alone with a DIY fix that might not hold.
Water damage, rot, or pest damage to joists needs proper repair before you address the squeak. Covering up a bigger issue only leads to bigger repairs later, so get it checked properly by someone who can spot what's underneath before you patch the surface.
Following this Squeaky Floorboard Repair Guide handles most common squeaks yourself, but structural issues deserve a second, professional set of eyes, especially with older homes.
Wrapping Up
A squeaky floor isn't a mystery once you know where to look and which fix matches your flooring type. This Squeaky Floorboard Repair Guide gives you the tools and confidence to handle it.
Whether it's a quick screw through hardwood, a carpet-friendly fastener kit, or leveling out laminate, the fix is closer than you think. If your floors need a deeper refresh, browsing flooring options for kitchens and bathrooms is worth a look, too.