Carpet Removal and Floor Prep: The Complete Guide
Pulling up old carpet always sounds simpler than it turns out to be. Most homeowners can lift the carpet itself in an afternoon, but the real work — and the part that decides whether your new floor lasts — is what happens after the carpet is out: inspecting, cleaning, and preparing the subfloor. This is also the stage where hidden problems show up, including water damage under old flooring that was quietly trapped for years under carpet and padding. This guide to Carpet Removal and Floor Prep walks through both halves of the job, from tear-out to a subfloor that's genuinely ready for whatever comes next.
What "Floor Prep" Actually Means
Floor prep is often reduced to "sweep and vacuum," but that's only the last step. Proper prep includes four things: clearing away all fasteners and debris, inspecting the subfloor for damage, checking moisture levels, and leveling or patching low spots. Skipping any of these steps is one of the most common reasons new flooring fails early — through squeaks, uneven seams, or adhesive that won't hold.
Tools You'll Need
For a standard room, you'll need a utility knife with sharp blades, pliers, a pry bar, a hammer, knee pads, gloves, and a dust mask or respirator. A shop vacuum helps control debris as you go. If the carpet is glued down rather than held by tack strips, add a floor scraper to your list — pulling glued carpet off concrete takes more effort and a different technique than lifting a stapled carpet off a wood subfloor.
Safety First: Asbestos and Dust
Before you start cutting anything, consider the age of your home. The Occupational Safety and Health Administration presumes that vinyl or asphalt floor tile — and the adhesive underneath it — installed before 1980 contains asbestos unless a lab test proves otherwise. If your carpet was laid over older tile or a thick black adhesive, don't sand, grind, or dry-scrape it. Have a sample tested by a certified lab first, and if asbestos is confirmed, leave removal to a licensed abatement contractor rather than attempting it yourself.
Dust is also worth taking seriously if you're scraping adhesive or old mastic off concrete. OSHA's standard for respirable crystalline silica sets a permissible exposure limit of 50 micrograms per cubic meter over eight hours in occupational settings — a useful reminder to wet-cut where possible, use a vacuum with dust extraction, and wear a properly rated respirator rather than a basic paper mask for any heavy scraping work.
Step-by-Step: Removing the Carpet
- Clear the room completely — furniture, decor, and any doors that swing into the space.
- Vacuum the carpet first to cut down on airborne dust once you start cutting.
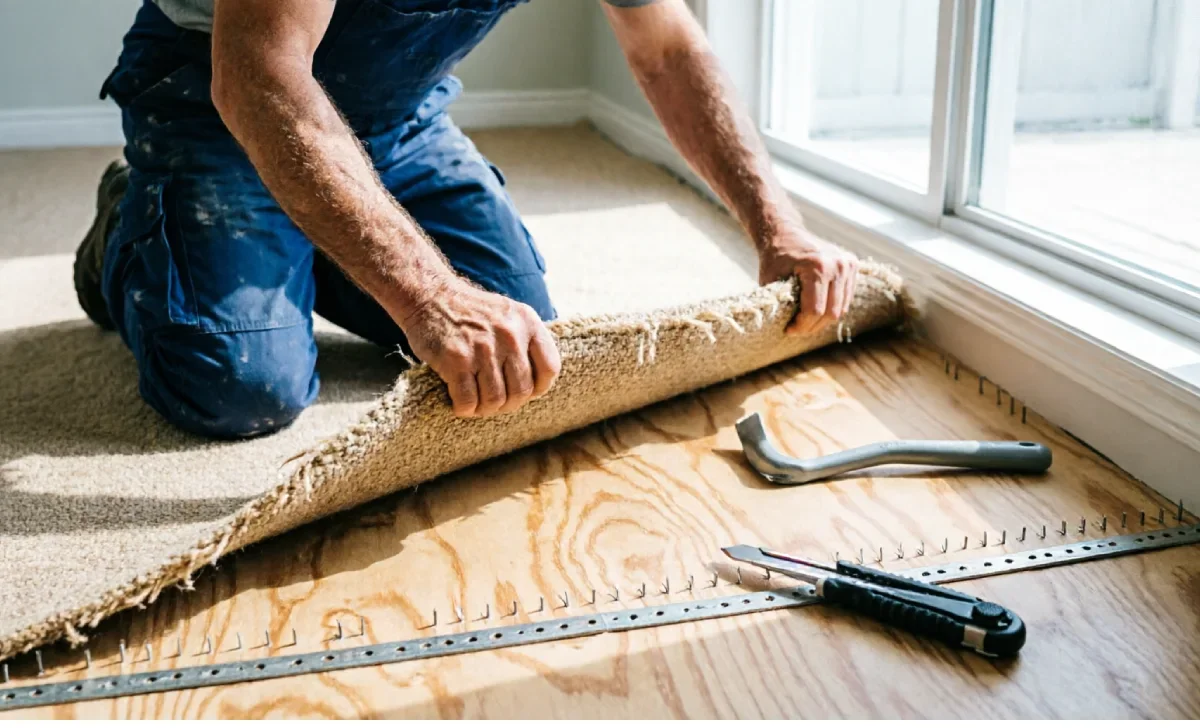
- Start in a corner. Use pliers to lift the carpet off the tack strip, or a utility knife to cut a starting square if it's glued down.
- Cut the carpet into strips roughly 2 to 4 feet wide. This makes each piece manageable to roll and carry.
- Roll each strip with the backing facing outward and secure it with tape or twine before hauling it out.
- If you're curious what's underneath, lift a small section in an inconspicuous spot, like a closet, before committing to removing everything — older homes sometimes have hardwood hiding under decades of carpet.
Most people can clear an average 12-by-12-foot room in two to four hours. Glued-down carpet, stairs, or larger rooms will take longer.
Padding, Staples, and Tack Strips
Once the carpet is up, the padding underneath usually comes out the same way — pull it up by hand if it's stapled, or use a scraper if it's glued. Pull any remaining staples with pliers as you go. Then turn to the tack strips around the room's perimeter. If you're installing new carpet and the strips are in good condition, they can often be reused. If you're switching to hardwood, tile, or vinyl plank, or the strips are rusted and damaged, pry them up carefully with a pry bar — the nails are sharp, so gloves matter here.
Inspecting and Repairing the Subfloor
With everything removed, press firmly across the plywood or OSB subfloor. Any section that feels spongy or crumbles under pressure needs to be cut out and replaced before you go further. Look closely for staining, which usually signals past water exposure, and for any lingering odor or discoloration that could point to mold. This is also the stage to fill old staple holes and gouges with a floor-patching compound and sand the area smooth once it's dry.
Testing for Moisture
This step gets skipped more than any other, yet it's one of the leading causes of new-floor failure — cupping, buckling, or adhesive that won't bond. For concrete subfloors, professionals commonly use the ASTM F1869 calcium chloride test or the ASTM F2170 in-situ relative humidity test to measure moisture accurately. For wood subfloors, a pin-type moisture meter is compared against the moisture content of the new flooring material itself, since manufacturers typically want only a small difference between the two before installation.
Leveling and Final Prep
Once the subfloor is clean, dry, and repaired, check it with a straightedge for low spots. Self-leveling compound fills in unevenness that would otherwise telegraph through new flooring or cause hollow spots. If moisture readings come back higher than your flooring manufacturer allows, a vapor barrier or moisture-mitigation product may be needed before installation. Give the room one last thorough vacuum right before the new flooring goes down — leftover dust can interfere with adhesive bonding.
Disposing of the Old Carpet
Check your local rules before hauling carpet to the curb, since some municipalities don't accept it in regular bulk pickup. Many carpet retailers include haul-away with a new flooring purchase, and junk removal services offer a flat-fee alternative if you're handling everything yourself. Carpet recycling exists through programs like the Carpet America Recovery Effort, though availability depends heavily on your region.
DIY vs. Professional Cost
Removing standard stapled or tack-strip carpet professionally typically runs about $0.50 to $1.60 per square foot. Glued-down carpet costs considerably more — often $1.50 to $5.00 per square foot — because of the extra labor involved in scraping adhesive. Basement carpet removal is usually in the $1.00 to $1.55 per square foot range, higher still if mold remediation is needed. If you're doing the tear-out yourself and only paying for disposal, expect to spend well under $100 for an average room.
Once your subfloor is clean, tested, and level, the real decision is what to put down next. If you're weighing waterproof, low-maintenance options, it's worth reading a Nucore flooring review before you commit, since rigid-core vinyl products vary a lot in durability and installation requirements between brands.
Final Thoughts
Removing carpet is the easy half of this project — the part that actually protects your investment is inspecting, testing, and leveling the subfloor underneath. Take the asbestos and moisture checks seriously, don't rush the repair step, and you'll set up whatever flooring comes next to actually last. If you're still deciding what that next floor should be, this roundup of home flooring options is a solid place to compare materials before you buy.