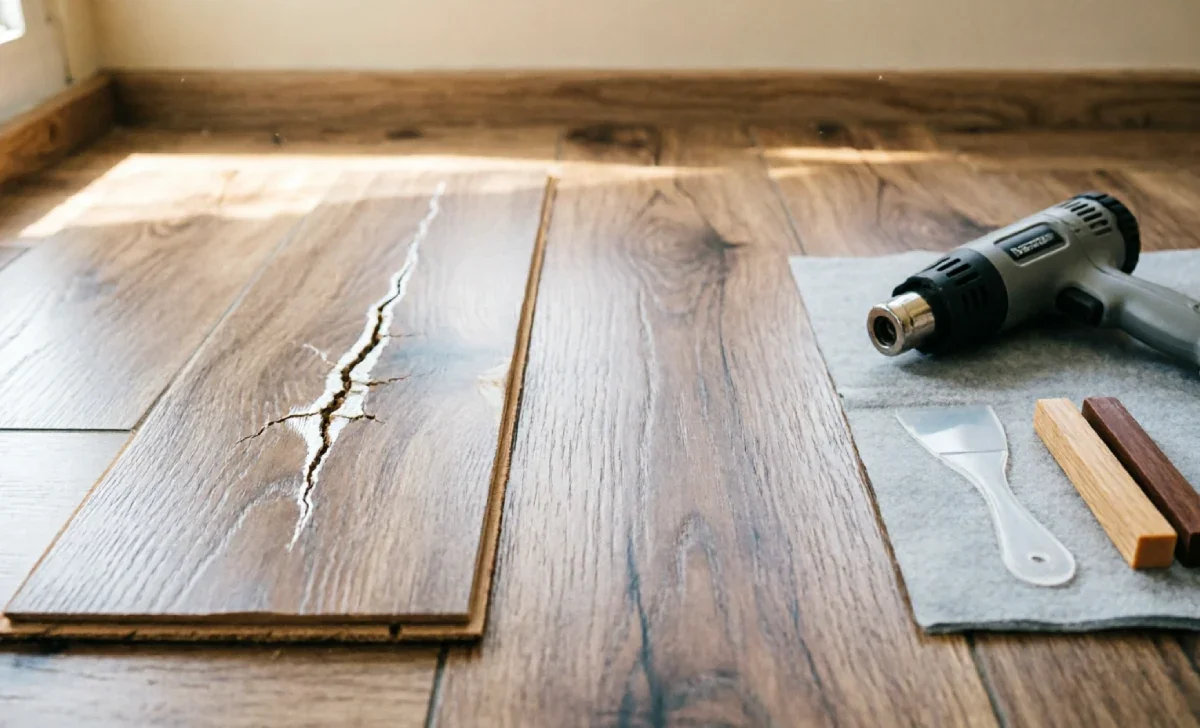
You glance down and spot a glaring white scratch across your beautiful floor. Before you panic, know that laminate flooring scratch repair is easier than you think. Almost all damage can be fixed at home in under 30 minutes with the right products. If you’re still choosing the best floor type for your space, our guide to the best home flooring options compares durability and style so you can make a confident decision.
Step 1: Assess the Damage – Can It Be Repaired?
Not all scratches are the same. The very first thing to do is run your fingernail gently across the scratch.
- Fingernail does not catch – This is a light surface scuff. Only the protective top coat is affected. A repair pen or simple buffing will erase it.
- Fingernail catches slightly, and you see a white line – This is a deeper scratch that has cut into the wear layer. You will need a wax stick or putty filler.
- Fingernail sinks in, and you see dark or fibrous material – The scratch has gone through the decorative layer into the core. Cosmetic filler will work temporarily, but the only permanent fix is to replace that single plank.
Remember: laminate flooring cannot be sanded. The top design layer is a photograph bonded to a fibreboard core. Sanding will destroy the pattern instantly.
5 DIY Methods to Fix Laminate Scratches (Step by Step)
Here are the five most effective repair techniques, arranged from the simplest for light marks to the most robust for deep gouges.
Method 1: Laminate Repair Marker or Pen
Best for: Fine surface scratches and pet claw marks.
Repair markers work exactly like a felt-tip pen. They deposit colour directly into the scratch and blend it away.
What you need: A laminate/wood repair marker (Mohawk, Rejuvenate, and Katzco make good ones), a microfibre cloth, and laminate cleaner.
Steps:
- Clean the scratched area thoroughly with a laminate-safe cleaner and dry it completely.
- Shake the pen well, then press the tip into the scratch and draw along its length. Use light, even pressure.
- Immediately wipe any excess colour off the surrounding surface with a dry cloth. If you let it dry, you will get a smear mark.
- Let it sit for 10 minutes, then lightly buff with a clean cloth.
Pro tip: Markers work best when the colour is an exact match. If you have a leftover plank from installation, take it to the shop. If not, purchase the multi-pen kit that lets you blend two shades.
Method 2: Wax Filler Sticks
Best for: Small deep scratches, narrow gouges, and edge chips.
A wax filler stick is the most common and reliable repair material. It melts into the groove and hardens, giving a durable fill.
What you need: Wax filler stick(s) in matching colour(s), a lighter or heat gun, a plastic putty knife or an old credit card, a soft cloth.
Steps:
- Clean and dry the scratch.
- Gently warm the tip of the wax stick with a lighter for 1-2 seconds until it softens. Do not let it catch fire or drip – you just need it pliable.
- Press the softened wax firmly into the scratch, slightly overfilling it.
- Let the wax cool for about 30 seconds until it hardens completely.
- Use the edge of a plastic card to scrape away the excess wax so it sits flush with the floor surface. Always scrape across the scratch, not along it, to avoid scooping out the fill.
- Buff lightly with a cloth. If your floor has a wood grain pattern, use a graining pen (sold in kits) to draw fine lines that match the texture.
Method 3: Laminate Repair Putty
Best for: Wide gouges, deep chips, and areas where the surface is missing entirely.
Repair putty is a heavy-duty filler that cures to a hard, sandable finish. It is the most permanent cosmetic repair you can do without replacing a plank.
What you need: Laminate repair putty (a multi-colour kit is best for blending), a plastic scraper, 400-grit sandpaper, and clear edge sealer.
Steps:
- Clean and dry the damaged area completely. If the gouge has rough edges, gently smooth them with fine sandpaper.
- Mix the putty colours on a disposable surface until you get a match. Start with the closest base colour and add tiny amounts of darker or lighter putty. Test on a hidden spot or spare plank if possible.
- Press the mixed putty into the hole with a plastic knife, overfilling slightly.
- Smooth the surface flush and remove all excess immediately. Epoxy-based putties harden fast.
- Let it cure for 24 hours (follow product instructions).
- If any roughness remains, very lightly sand with 400-grit paper in the direction of the grain, then apply a thin layer of clear floor sealer to protect the repair.
Do not walk on the repair until it has fully hardened.
Method 4: Heat & Cloth Method (For White Scuff Marks Only)
Best for: Whitish pressure marks caused by moisture trapped under the surface – not for actual scratches.
This old trick circulates widely online but requires extreme caution.
Warning: This method can permanently damage modern water-resistant laminate and may void your floor warranty. Only try this on older, non-waterproof laminate if you notice a white, cloudy scuff that is not a physical cut.
How it works (if you choose to proceed):
- Place a damp (not wet) cotton cloth over the white mark.
- Set a household iron to the lowest heat setting (no steam).
- Touch the iron to the cloth for 2-3 seconds, then lift. Check constantly.
- The gentle heat can release trapped moisture and make the white mark vanish.
- Stop immediately if you see any bubbling, gloss change, or seam swelling.
If you are unsure, skip this method and use a marker or wax stick instead. The risk of delaminating the plank is real.
Method 5: Artist’s Coloured Pencil (Temporary Quick Fix)
Best for: Hairline scratches you want to hide instantly before guests arrive.
A high-quality artist’s coloured pencil can fill ultra-fine lines. Match the floor colour, lightly run the pencil inside the scratch, and buff away surface dust with a cloth. Seal it with a tiny dab of clear nail polish or floor polish for a few days of protection. This is a temporary cover-up, not a permanent repair.
If you’re updating your home’s look while fixing the floors, consider creative applications like laminate flooring on walls for a modern, cohesive finish that’s easy to maintain.
How to Colour-Match Your Floor Perfectly
Colour matching is the hardest part of scratch repair. Here is how to get it right:
- Find the original plank code: Check your paperwork or any leftover planks. The code often looks like “Oak Natural 1234”. Search online with that code plus “touch-up kit”.
- Use natural daylight: Look at the floor near a window. Artificial light shifts colours.
- Blend two wax colours: No single wax stick will likely be a perfect match. Buy two that are lighter and darker than your floor, then mix small amounts as you fill.
- Test in a hidden area: Repair a small dot inside a wardrobe or under the sofa first to confirm the colour dries correctly.
- Photograph your floor: Take a well-lit photo on your phone and show it to a flooring retailer; they can often pick the closest product.
Preventing Future Scratches
Once you have fixed the damage, protect your floors.
- Stick felt pads under every chair leg, table, and piece of heavy furniture.
- Use a microfibre mop instead of a broom with hard bristles.
- Avoid vacuum cleaners with rotating beater bars unless you can turn them off.
- Place door mats at every external entrance.
- Lift furniture when moving it; never drag.
- Keep pet nails trimmed regularly.
For long-term floor shine and protection, proper cleaning is essential. Even if you have laminate, many cleaning principles overlap with wood floor care. Our hardwood floor cleaning guide shares safe, effective techniques that work beautifully on laminate surfaces too.
Frequently Asked Questions
Does the walnut trick really work on laminate floors?
No. Rubbing a walnut on a scratch can fill it temporarily with oil, but on modern laminate with an aluminium oxide finish, it simply leaves a greasy stain that attracts dirt. Avoid this method.
Can I use a steam mop to clean scratches out?
Never. Steam mops force moisture into the seams and will cause the planks to swell and delaminate. Even “waterproof” laminate has limits.
How long does a wax stick repair last?
In normal household traffic, a correctly applied wax repair can last several years. High-traffic areas like hallways may need a touch-up every 12-18 months.
When should I replace the plank instead?
If the scratch goes right through the core, or if the plank edge has started swelling, replace the entire plank. Also, if the floor has more than five badly damaged planks in one room, a professional replacement may be more cost-effective.
Will repairing a scratch void my floor warranty?
Using a manufacturer-approved touch-up kit from the same brand as your floor usually does not void the warranty. Unapproved methods (iron, sanding, aggressive chemicals) can. Always check your warranty document first.
Final Takeaways
Laminate scratch repair is straightforward when you match the right method to the scratch depth. Start with the simplest fix – a repair pen – and work your way up to wax or putty if needed. The secret to an invisible repair is colour matching and patience. Never sand, laminate or use a steam iron on modern floors. With a small repair kit and 30 minutes of your time, you can restore your floor and avoid the cost of replacement. Save this guide, and you will never have to worry about furniture drag marks or pet claws again.