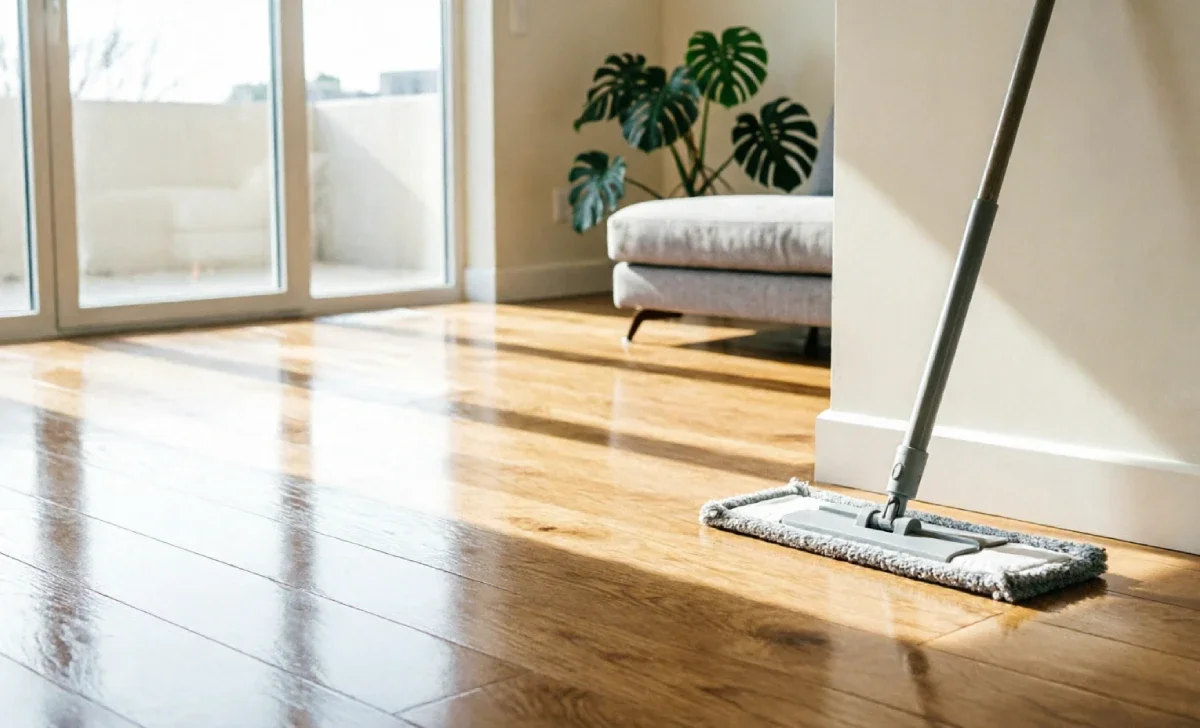
Nothing matches the warmth and elegance of genuine hardwood flooring. Whether you've invested in premium options like Ndure Sierra Cyprus flooring or chosen another quality product, protecting that investment starts with proper cleaning. This comprehensive hardwood floor cleaning guide eliminates confusion by showing you exactly how to clean your floors based on specific finish types—not generic guesswork. We follow manufacturer specifications and National Wood Flooring Association (NWFA) guidelines rather than viral cleaning hacks. Because when it comes to hardwood, the natural solution isn't always the right one. Cloudy streaks, dull patches, and mysterious white marks aren't signs of poor-quality flooring—they indicate incorrect cleaning methods that this hardwood floor cleaning guide will help you avoid permanently.
Step 1: Identify Your Floor's Finish First
Before picking up any mop, determine what protects your wood. The cleaning method for one finish can ruin another. Hardwood flooring isn't bare wood—it's protected by a sealant layer that determines how moisture and cleaners affect the surface.
The Water Droplet Test
Place a single drop of water on the floor in an inconspicuous area:
- Beads up and sits on top: You have a surface-sealed finish (polyurethane, factory-applied coating). Water cannot penetrate.
- Slowly absorbs within minutes: You have a penetrating-seal finish (oil, hardwax oil). Liquid gradually sinks into the wood fibres.
- Turns white or hazy immediately: You likely have a wax finish. Water is trapped in the wax layer.
The Scratch Test for Wax
In a hidden corner, gently scrape the surface with the edge of a coin. If material flakes off, it's wax. Polyurethane will not yield to this test.
Factory-Finished vs. Site-Finished
Most modern floors arrive pre-finished with multiple factory-applied polyurethane coats containing aluminum oxide for scratch resistance. These planks typically have micro-bevels between boards where moisture can seep—a critical detail for your cleaning technique. Take five minutes to identify your finish. Doing so prevents hundreds of pounds in future repairs.
Daily and Weekly Maintenance: Preventing Damage
Fine grit is hardwood's worst enemy—it acts like sandpaper underfoot, creating micro-scratches that dull your finish over time. Proper routine maintenance prevents this degradation.
Dry Removal Comes First
Use one of these tools daily in high-traffic areas, twice weekly elsewhere:
- Microfiber dust mop: The electrostatic charge captures fine particles. Machine-wash the pad regularly without fabric softener, which leaves residue.
- Vacuum with soft brush roll: Disable the beater bar completely. Hard bristles and rotating beaters scour the finish.
- Horsehair broom: A traditional option that works well for daily sweep-ups.
The Correct Damp Mopping Technique
This is where most damage occurs. Water and wood are enemies. The goal isn't wet cleaning—it's barely-there moisture contact.
The Dampness Test: After thoroughly wringing your microfiber pad, it should feel dry to the touch. If you press it against a mirror, it shouldn't leave visible droplets. If you can squeeze water from the pad, it's dangerously wet.
Proper technique: Use a flat microfiber mop with a spray applicator. Spray the pad lightly, never the floor directly. Work in sections, drying immediately with a clean microfiber cloth. Never let moisture sit on the surface for more than 30 seconds. Avoid spin mops that push water into seams and bevels.
Frequency: Damp-mop polyurethane-finished floors weekly in busy homes, monthly in low-traffic areas. Oil-finished floors need less frequent attention—follow manufacturer guidance.
Deep Cleaning Protocols by Finish Type
Surface-Sealed Floors (Polyurethane, Most Pre-finished Planks)
This covers the majority of modern installations. The finish creates an impermeable plastic-like barrier.
What you'll need: pH-neutral, residue-free hardwood floor cleaner, clean microfiber flat mop, several spare dry microfiber cloths.
Step-by-step:
- Remove all surface debris with a microfiber dust mop or a soft-brush vacuum. Skipping this step grinds dirt into the finish during cleaning.
- Apply cleaner to the mop pad, not the floor. Lightly mist until barely damp.
- Clean in manageable sections, working with the grain direction. Immediately follow with a dry cloth.
- Change pads frequently. A soiled pad redistributes dirt. Have 3-4 clean pads ready for an average room.
- Allow 5-10 minutes to dry completely before walking on the surface.
Product guidance: Use only cleaners explicitly labelled for polyurethane-finished wood. Bona Professional and similar residue-free formulas are industry standards. Avoid anything promising "shine" or "polish"—these terms indicate leave-behind chemicals that build up over time.
Penetrating-Seal Floors (Oil, Hardwax Oil)
These finishes protect from within rather than on top. They require completely different chemistry. Never use generic hardwood cleaners on oiled floors—the wrong product strips the oil, leaving wood unprotected.
Step-by-step:
- Dry-clean thoroughly as described above.
- Apply the manufacturer's specific maintenance soap or oil refresher. These products clean while replenishing the finish.
- Work in small sections, applying sparingly with a microfiber pad.
- Buff off any excess with a clean cloth. The floor should feel smooth, not greasy.
- Allow proper curing time (12-24 hours) before replacing furniture.
For WOCA or Rubio Monocoat products, purchase their branded maintenance kits. The chemical formulation matches your finish specifically.
Waxed Floors (Heritage Properties)
Wax finishes are rare in modern homes but common in period properties. They require the gentlest approach.
Step-by-step:
- Use dry methods only for routine care. Buffing removes light soiling and restores lustre.
- For spot cleaning, use a barely damp cloth with mild, wax-safe soap. Dry and buff immediately.
- Never wet-mop a waxed floor. Water penetrates the wax, causing white rings and haze.
- Deep restoration requires stripping with mineral spirits and reapplying wax. This is specialist work—consider professional assistance.
When selecting flooring for moisture-prone areas, products like NuCore flooring offer waterproof alternatives that eliminate many maintenance concerns. Understanding your flooring type before installation prevents future cleaning headaches.
5 Damaging Habits to Stop Immediately
1. Using Vinegar
Vinegar is acetic acid. On polyurethane finishes, it gradually etches the surface, creating microscopic pits that trap dirt and appear cloudy. Most manufacturers explicitly warn against vinegar-based cleaners. Natural doesn't equal safe.
2. Steam Mopping
The National Wood Flooring Association states unequivocally: never use steam mops on wood. Steam forces moisture into seams and beneath the finish, causing warping, cupping, and plank separation. Damage is often irreversible without full replacement.
3. Murphy Oil Soap and Similar Products
Despite the name, oil soaps leave a sticky residue that builds up layer upon layer. This film attracts dirt, appears cloudy, and prevents proper recoating in the future. The temporary "shine" costs you in the long term.
4. Over-Wetting
Visible water on your floor during cleaning indicates a problem. Wood expands with moisture and contracts as it dries. Repeated cycles weaken structure and finish adhesion. Your pad should never drip.
5. Using Polishes on Polyurethane Finishes
Polish products create a temporary glossy film that sits on top of polyurethane. Over time, this film yellows, scratches, and becomes tacky. Removing it requires aggressive chemical stripping—ironically damaging the very finish you were trying to enhance.
Spot Cleaning Solutions
Dark Stains from Pet Accidents
Urine causes tannin reactions that darken wood. Blot fresh accidents immediately. For existing marks, mix hydrogen peroxide (3% solution) with a small amount of baking soda to form a paste. Apply to the stain, cover with plastic wrap, and allow to sit 24 hours. Remove and assess—repeat if necessary. Warning: this can lighten the wood itself. Test in an inconspicuous area first.
Grease and Oil Marks
Place an ice pack over the spot to harden the grease. Gently scrape with a plastic putty knife. Clean residue with a pH-neutral cleaner on a microfiber cloth.
Black Scuff Marks
A clean tennis ball rubbed firmly over the mark often removes it without chemicals. The rubber lifts the scuff without abrading the finish.
White Rings from Moisture
Apply a small amount of non-gel toothpaste on a soft cloth. Rub gently in circles over the mark. Wipe clean and buff dry. This works on surface-level moisture marks only—serious damage requires refinishing.
If you're renovating and considering dark tones, review our guide on dark flooring in kitchens to understand how colour choice affects visible maintenance requirements. Darker floors show dust and footprints more readily, making your cleaning routine even more critical.
Frequently Asked Questions
How often should I deep clean hardwood floors?
Surface-sealed floors benefit from thorough cleaning every 1-3 months, depending on household traffic. Oil-finished floors typically need manufacturer-specific maintenance annually. Waxed floors rarely need deep cleaning—routine buffing suffices.
Can I use a Swiffer WetJet on hardwood?
Only if the specific solution is pH-neutral and residue-free. Standard refills often contain ingredients that leave sticky buildup. The mechanical action is acceptable, but control what chemicals contact your floor.
Why do my floors look cloudy after cleaning?
Cloudiness indicates product residue buildup or micro-etching of the finish (often from vinegar or ammonia-based cleaners). Strip the buildup with a residue-free cleaner. If cloudiness persists, the finish itself is damaged and may require recoating.
Is it safe to use water at all?
Water contact must be brief and minimal. Wood and water are fundamentally incompatible. The "damp" in damp-mopping means your pad contains moisture you can barely detect by touch.
Protecting Your Investment
Proper hardwood floor cleaning isn't complicated, but it is specific. The key principles never change: identify your finish before choosing any product, dry-clean thoroughly before introducing moisture, keep water contact minimal, use only pH-neutral cleaners on polyurethane, follow manufacturer protocols for oil and wax finishes, and reject DIY "hacks" involving vinegar or steam.
When selecting flooring products or maintenance supplies, quality matters. Some preparation products like Kilz are not recommended for flooring applications—always verify product suitability for your specific material and finish type.
Your hardwood floor represents a significant investment. With correct care, it will outlast every trend and continue adding value to your home for decades. The cleaning routine you establish today determines whether your floors look better with age—or simply look aged. Perform the water droplet test today, invest in quality microfiber tools, dispose of vinegar-based solutions, and establish a consistent dry-cleaning routine. Your floors will reward you with lasting beauty.