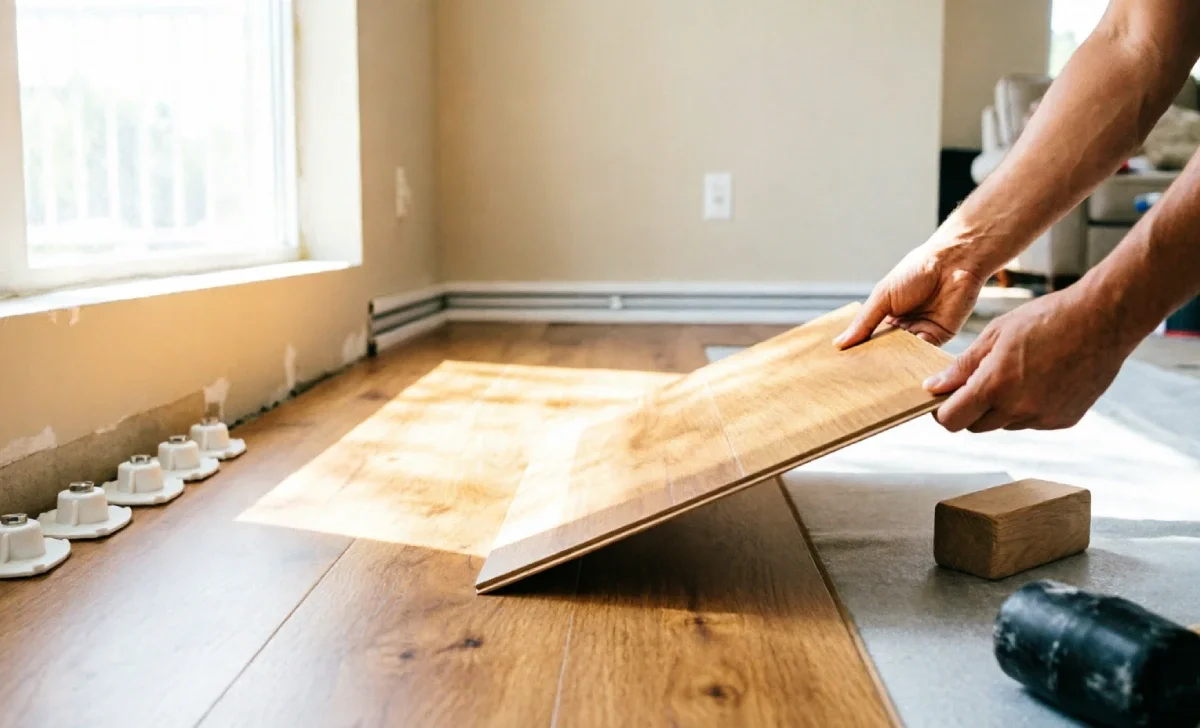
Tired floors kill a room's vibe fast. A DIY Vinyl Flooring Installation fixes that without draining your savings.
This guide walks you through every step, pet-friendly flooring picks included, so your new floor survives muddy paws and clumsy roommates alike.
You don't need a contractor's toolbox or a design degree to pull this off. Vinyl plank flooring clicks together like a puzzle.
Most beginners finish a mid-size room in a single weekend. Stick with us, and you'll walk away with real skills, not just a checklist.
Why This Project Is Worth Your Weekend
Vinyl plank flooring costs less than hardwood but looks like it costs more. That's the flex here.
It's waterproof, scratch-resistant, and forgiving if your cuts aren't perfectly straight.
A DIY Vinyl Flooring Installation rewards patience more than raw skill, which means pretty much anyone can nail it on a first try. You save on labor costs, and the finished look rivals what a pro would charge you thousands for.
Tools and Materials That Make This Easy
Grab a utility knife, a tapping block, and a rubber mallet before you start anything.
Add a measuring tape, a chalk line, and a T-square for clean, straight cuts along every wall. Spacers keep your expansion gap consistent from one side of the room to the other.
You'll also want underlayment if your planks don't already have it built in.
A moisture barrier matters if you're working over concrete. Skip a tool here, and you'll feel it later during your DIY Vinyl Flooring Installation, usually at the worst possible moment.
Borrow what you can before buying new gear. Most of these tools sit unused in a garage somewhere, waiting for exactly this kind of weekend project.
Prepping the Subfloor the Right Way
Your floor is only as good as what's underneath it, so start there.
Pull up old flooring, yank the baseboards, and vacuum every corner clean before you measure anything.
Check for dips or high spots with a level, then patch with a self-leveling compound where it's needed most.
An uneven subfloor telegraphs through vinyl planks over time, leaving bumps and gaps that ruin the whole look. This is the step DIYers rush, and it's the one that separates amateur results from ones that actually look professional.
Let the Planks Acclimate First
Vinyl planks expand and contract with temperature changes in your home.
Leave boxes in the room for 48 hours before cutting anything, letting them adjust naturally.
Skipping acclimation is one of the most common mistakes in a DIY Vinyl Flooring Installation, full stop.
Planks that haven't settled can buckle weeks after you've finished the job. Patience now saves you a full teardown later, so don't rush this part no matter how excited you are.
Planning Your Layout Before You Cut
Measure the room's width and divide by the plank width to check for a sliver row.
Nobody wants a two-inch strip sitting awkwardly against the wall.
Adjust your starting point so both edge rows end up looking balanced and intentional.
Snap a chalk line to keep your first row dead straight, since every row after it follows that lead. A crooked start means a crooked finish, no matter how careful you get later on.
Photograph your layout plan before you start clicking planks together. It sounds unnecessary until you're three rows in and second-guessing your own math under a tight deadline.
Cutting Vinyl Planks Without Wasting Material
A utility knife handles most straight cuts using a simple score-and-snap method.
For tighter curves around doorways, an oscillating multi-tool gets the messy jobs done cleanly.
Measure twice, mark with a pencil, and cut on the back side of the plank when you can, since that hides rough edges from view.
Keep your offcuts organized, since you'll often reuse them to start new rows.
Installing the First Row and Beyond
Lock your first plank against your spacers, tongue side facing the wall.
Click the next plank in at an angle, then press it flat until it fully seats into place.
Stagger your seams by at least six inches between rows for a stronger, more natural look. Compare this to engineered wood flooring if you're still weighing your options before committing fully to vinyl.
Use a tapping block and rubber mallet to snug up tight seams without damaging the edges.
Trimming Around Doors and Tricky Corners
Door jambs trip up plenty of first-timers during their DIY Vinyl Flooring Installation.
Use a hand saw flat against the floor to trim the jamb, then slide your plank underneath for a seamless fit.
For pipes or vents, trace the shape onto the plank before you cut it.
Precision here matters more than speed. A little extra time on tricky corners pays off in a floor that looks finished, not patched together.
Finishing Touches That Tie It All Together
Install transition strips where your new floor meets carpet, tile, or another room entirely.
These bridge height differences and give every edge a clean, professional-looking finish.
Reinstall your baseboards or add fresh shoe molding to hide the expansion gap you left earlier.
Roll the entire floor with a floor roller to seat the planks fully against the subfloor below. This final pass locks everything into place and smooths out any lingering air pockets underneath.
Step back and look at the whole room from the doorway. Small gaps or uneven seams show up far more clearly from a distance than they do up close.
Mistakes That Wreck the Whole Job
Skipping acclimation, ignoring an uneven subfloor, and forgetting expansion gaps top the list.
Any one of these small errors can undo hours of otherwise careful work.
Rushing your layout planning causes crooked rows that get worse with every single plank you add.
A successful DIY Vinyl Flooring Installation depends on prep work just as much as the actual clicking and cutting. Slow down at the start, and the rest of the job goes so much smoother.
Uneven pressure with your tapping block can crack a plank edge without you noticing right away. Check your work every few rows instead of waiting until the whole floor is down.
Keeping Your New Floor Looking Sharp
Sweep or vacuum regularly to keep grit from scratching the surface over time.
Damp mop with a vinyl-safe cleaner, and skip anything with ammonia or heavy wax.
Use felt pads under furniture legs to prevent dents from forming.
If a plank ever squeaks or shifts out of place, don't panic right away. A quick fix usually solves it, and it won't cost you a whole new install.
How Long Does This Actually Take?
Most bedrooms or home offices take a weekend from start to finish, prep included.
Bigger rooms, or spaces with lots of doorways and corners, might stretch into a second weekend.
A DIY Vinyl Flooring Installation moves faster once you've done your first row, since the rhythm clicks fast. Rushing the first hour costs you more time than it saves, so pace yourself early on.
Do You Really Need Underlayment?
It depends on your planks and your subfloor type.
Many click-lock vinyl planks come with an attached pad, so a separate layer isn't always necessary.
Over concrete, though, a moisture barrier is non-negotiable, since concrete wicks up ground moisture even when it looks bone dry. Check your product specs before skipping this step entirely.
Wrapping Up Your Project
A DIY Vinyl Flooring Installation isn't just a money-saver for your household budget.
It's proof you can transform a room with your own two hands and a single Saturday afternoon.
Take your time with prep, respect the acclimation period, and don't rush your layout planning. And if a plank ever starts squeaking down the road, this squeaky floorboard repair guide will sort it out fast.
Do that, and your floor will look like it came from a showroom, not a rushed weekend project. Now grab that tapping block and get started on your own space.