
Filing a roof insurance claim sounds simple until you are in the middle of one. Most homeowners lose money not because their damage is denied, but because they do not document it correctly, miss deadlines, or accept the first payout without question.
This guide walks you through every step of the roof insurance claims process, from the moment a storm hits to the day your contractor finishes the job. You will learn what your policy actually covers, how to work with an adjuster, and what mistakes kill claims before they even get reviewed.
1. Understand What Your Policy Covers
Before you file anything, read your homeowner’s policy. Most standard policies cover sudden storm damage, hail, wind, and falling objects. What they do not cover is wear and tear, age-related deterioration, or poor installation.
Two coverage types matter here. Actual Cash Value (ACV) pays you the depreciated value of your roof based on its age. Replacement Cost Value (RCV) pays the full cost to replace the roof with similar materials at current prices. If your policy pays ACV, expect a lower check.
Check your deductible amount. In Texas and other hail-prone states, many policies now carry a separate wind and hail deductible, often calculated as one to two percent of your home’s insured value rather than a flat dollar amount. On a $300,000 home, that means a $3,000 to $6,000 deductible before your insurance pays anything.
Know these numbers before you file. They determine whether filing is worth it at all.
2. Inspect the Damage as Soon as It Is Safe
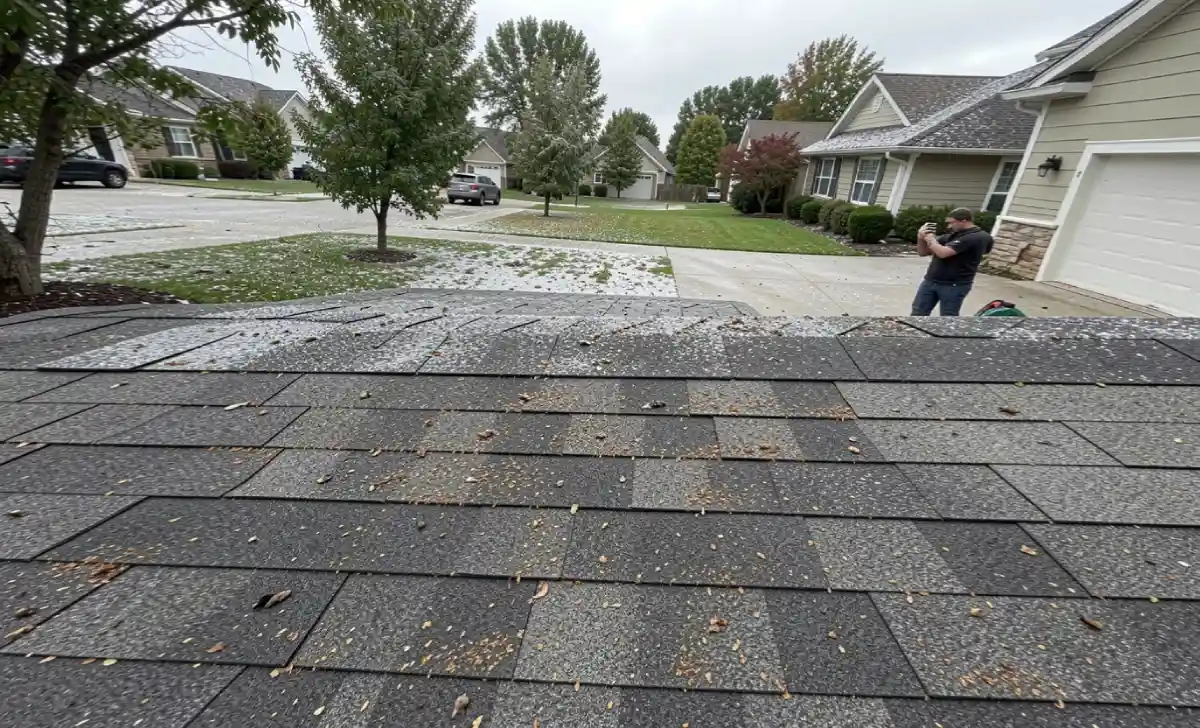
After a storm passes, do a ground-level inspection before anyone goes on the roof. Look for visible damage to gutters, fascia, and siding as well as the roof surface. Dented gutters and damaged downspouts are often the first visible signs of hail impact.
If you have a metal roof, surface dents may be visible from the ground. If you have asphalt shingles, look for granule accumulation in your gutters or dark bruising on the shingles. Both are signs of hail damage your adjuster will look for.
Do not walk on the roof yourself unless you have experience doing it safely. Wet or damaged roofing materials can be slippery and structurally compromised. Take photos from the ground and from an upstairs window if possible.
Your goal at this stage is to confirm damage exists and get a general sense of how widespread it is before you contact your insurer.
3. Document Everything Before Touching the Roof
Documentation is what separates a paid claim from a denied one. Take photos and videos of every damaged area before any repairs begin. Capture wide shots showing the full roof surface and close-up shots showing specific damage like cracked shingles, dented flashing, or displaced panels.
Note the date and time of the storm. Check your local weather service or apps like Weather Underground to pull historical storm data for your address. An official storm record showing hail size and wind speed on a specific date ties your damage to a covered event.
If interior damage occurred, such as water stains on ceilings or wet insulation in the attic, photograph that as well. Interior damage strengthens your claim because it shows the roof failure created a direct impact inside the home.
Save all records in a single folder, cloud-backed and organized by date. You will share this with your adjuster and possibly a public adjuster or attorney if the claim gets disputed.
4. File Your Roof Insurance Claim Quickly
Most policies require you to report damage within a reasonable time after it occurs. That window varies by insurer and state, but waiting too long gives the insurance company grounds to argue the damage was pre-existing or worsened by neglect.
Call your insurer the same day or the day after the storm. You do not need a full damage report to open a claim. You just need to report that damage occurred and that you want an adjuster to inspect the property.
Get a claim number in writing and note the name of every representative you speak to. Write down the date and time of each call. This creates a paper trail if a dispute develops later.
If a contractor approaches you before you have filed, do not sign any assignment of benefits agreement until you have spoken with your insurer. These agreements can limit your control over the claim.
5. Prepare for the Insurance Adjuster Visit
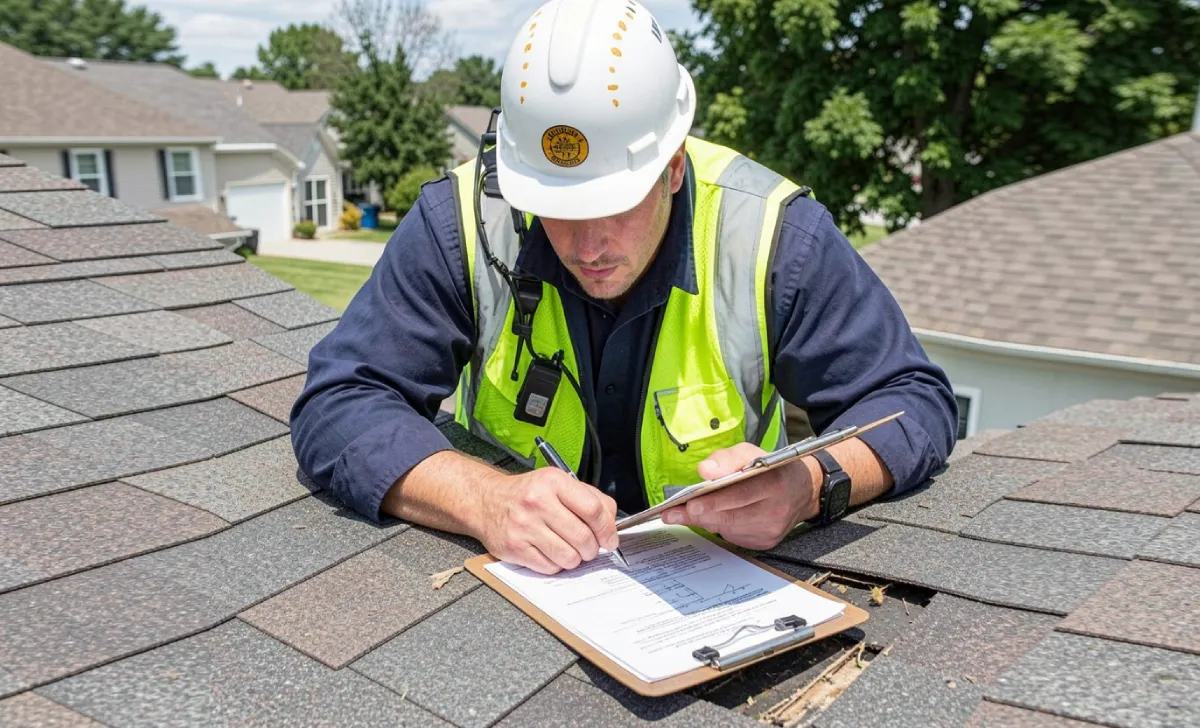
The adjuster your insurance company sends works for the insurer, not for you. Their job is to assess damage accurately, but their findings also directly affect what the company pays out. Come prepared.
Have your documentation ready: photos, videos, storm data, and any previous inspection reports. Walk the adjuster through every damaged area you identified. Point out issues they might miss, including damaged ridge caps, compromised flashing, and granule loss in gutters.
Ask the adjuster to explain their process and timeline. Ask when you will receive the written report and scope of work. You are entitled to a copy of everything they generate.
If the adjuster seems rushed or dismisses damage you clearly documented, take note. You have the right to hire a public adjuster or request a re-inspection if the initial report feels incomplete.
6. Get an Independent Roofing Contractor Estimate
Do not wait for the insurance payout before getting your own estimate. Hire a qualified roofing contractor to inspect the roof independently and provide a written scope of work and materials estimate.
A contractor who specializes in insurance work knows how to write an estimate in a format adjusters understand. They can also identify damage the adjuster missed and submit a supplement to the insurer requesting additional funds.
When choosing a contractor, prioritize experience with your specific roofing material. A contractor experienced with metal roofing in a region like Central Texas, for example, understands how hail interacts with standing seam and Galvalume panels in ways a general roofer may not. You can learn more about how climate and materials affect roofing performance in this guide to metal roofing in Central Texas.
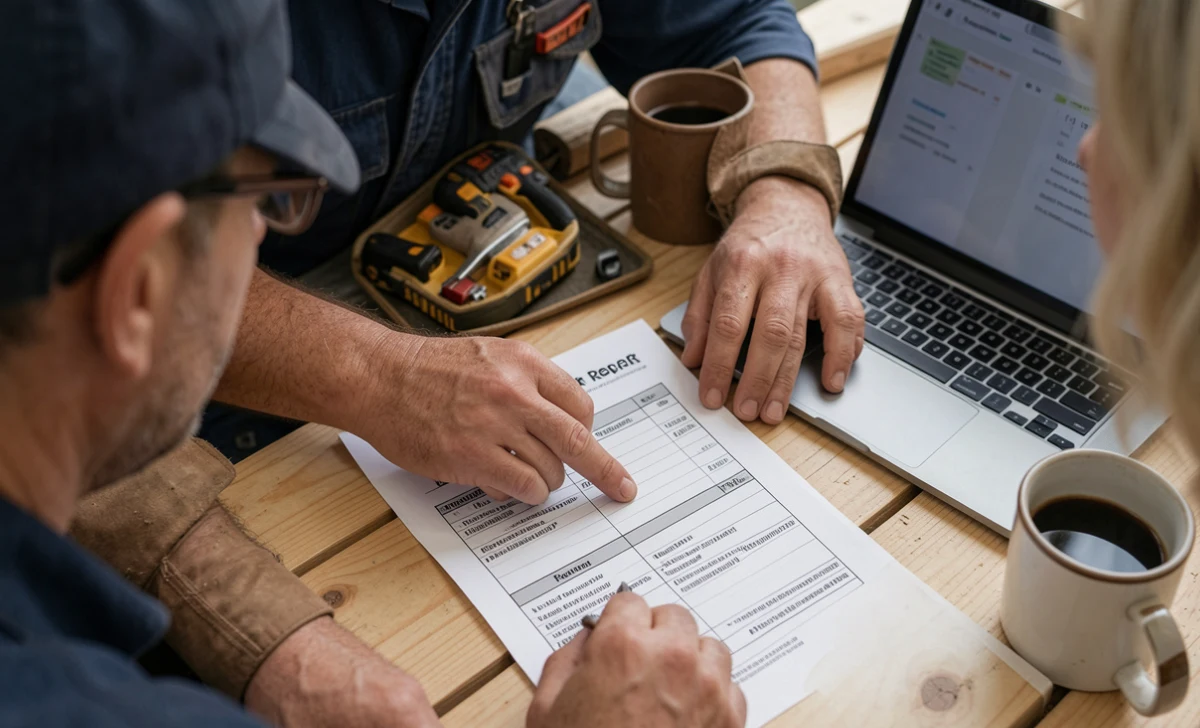
Compare the contractor’s estimate against the adjuster’s report line by line. Gaps between the two are common and worth addressing before you accept any payment.
7. Review the Adjuster’s Report Carefully
When the adjuster’s report arrives, read every line. The report includes a scope of work and a cost breakdown generated using software like Xactimate. These figures are not final. They are a starting point.
Look for missing line items. Common omissions include code upgrade costs, permit fees, drip edge replacement, and interior damage repair. If your area has building codes that require upgrades during a roof replacement, your insurer may be required to cover those costs under your policy’s “ordinance or law” coverage.
Check the depreciation figures. If your policy pays replacement cost value, depreciation should be recoverable once the work is complete and you submit a final invoice. Some homeowners leave thousands of dollars unclaimed simply because they do not submit the final invoice.
If anything looks wrong or incomplete, send a written response to your insurer citing the specific line items in dispute. Keep it factual and attach your contractor’s estimate as supporting documentation.
8. Negotiate If the Payout Is Too Low
You can dispute a low settlement. Start by submitting a formal written dispute to your insurer with your contractor’s estimate and supporting documentation. Many underpaid claims get corrected at this stage without further escalation.
If the insurer does not adjust the payout, you can hire a public adjuster. Public adjusters work on your behalf for a percentage of the final settlement, typically 10 to 15 percent. They know how to find legitimate additional damage and present it in a format insurers accept.
As a last resort, you can invoke the appraisal clause in your policy, which brings in a neutral umpire to resolve disagreements between your appraiser and the insurer’s appraiser. This process costs money and takes time, but it often results in higher payouts on legitimate claims.
9. Choose the Right Contractor for the Repair
Once the claim is settled, the contractor you hire determines whether the repair holds up. Use a licensed, insured contractor who pulls a permit for the work. Unpermitted roofing work can void your warranty and cause problems when you sell the home.
Avoid storm chaser contractors who show up in your neighborhood the day after a major weather event and pressure you into signing quickly. Many of them are unlicensed, underinsured, and gone before problems surface.
Just as thermal expansion and contraction cycles stress roofing materials in cold climates, and as this breakdown of winter roof damage and freeze-thaw cycles in Virginia explains, choosing the wrong materials or installation methods for your local climate compounds damage over time. The same principle applies in Texas heat. Hire someone who understands your local environment.
Ask for manufacturer certification, three local references, and a written warranty covering both materials and labor before signing anything.
10. Close the Claim Correctly
Once the work is complete, submit your final contractor invoice to your insurer. If your policy pays replacement cost value, this triggers the release of the depreciation holdback, which can represent a significant portion of the total settlement.
Get a final inspection from the contractor and keep all receipts, warranties, and permits in a file. Your insurer may ask for proof of completion before releasing the remaining funds.
Update your home inventory and policy details. If you upgraded your roofing material as part of the repair, notify your insurer. A metal roof, for example, may qualify you for a premium discount through a Class 4 impact resistance rating. That discount can offset the cost difference between asphalt and metal over time.
Expert Tips
Request a second adjuster inspection if the first report feels incomplete. Insurers allow re-inspections and you should use that option without hesitation.
If your claim involves hail damage, check your local storm history before the adjuster visit. Hail reports from the National Weather Service and private storm data services like Verisk can confirm event details in writing.
Never accept a verbal settlement offer. Get every agreement in writing before your contractor begins work.
Common Mistakes to Avoid
Waiting too long to file. Many policies have a one to two year reporting window, but the sooner you file, the cleaner the documentation.
Signing an assignment of benefits before reading it. This can transfer your claim rights to the contractor, removing your ability to dispute or negotiate.
Accepting the first estimate without comparison. The adjuster’s initial figure is rarely the final figure. Always get your own contractor’s scope of work before accepting.
Starting repairs before the adjuster inspects. Repairs made before inspection can complicate or invalidate a claim.
Hiring a contractor without verifying their license and insurance. If an uninsured crew causes damage during the job, you bear the liability.
Conclusion
Roof insurance claims reward homeowners who prepare, document, and stay involved throughout the process. The claim does not end when the adjuster visits. It ends when the final invoice is submitted, the holdback funds are released, and the completed work is documented in your files.
Know your policy before the storm arrives. Document damage the same day it happens. Get your own contractor estimate before accepting any settlement. Close the claim correctly by submitting final proof of completion.
If you have not reviewed your roofing coverage recently, do it this week. Call your insurance agent and ask specifically what your wind and hail deductible is, whether your policy pays ACV or RCV, and whether your current roof qualifies for any impact resistance discounts. That conversation takes 15 minutes and can save you thousands when the next storm hits.
FAQs
How long does a roof insurance claim take to process?
Most insurers complete an initial inspection within 7 to 14 days of the report. Full settlement can take 30 to 60 days depending on claim complexity and documentation quality.
Will filing a roof insurance claim raise my premium?
It can, depending on your insurer and state. One claim rarely triggers a significant increase, but multiple claims within a short period often do. Ask your agent about the impact before filing small claims.
What if my insurer denies my roof insurance claim?
Request a written denial with the specific reason. You can dispute the denial, hire a public adjuster, invoke the appraisal clause, or consult a property insurance attorney if the denial appears unjustified.
Does homeowner’s insurance cover an old roof?
Coverage depends on the policy type and roof condition. Some insurers limit coverage on roofs older than 20 years to actual cash value only, or require a roof inspection before renewing coverage.
Can I keep leftover insurance money after repairs?
If repairs cost less than the approved settlement, you may keep the difference in some cases. However, if your policy pays replacement cost value and you do not complete the repairs, the insurer will only pay the actual cash value portion.