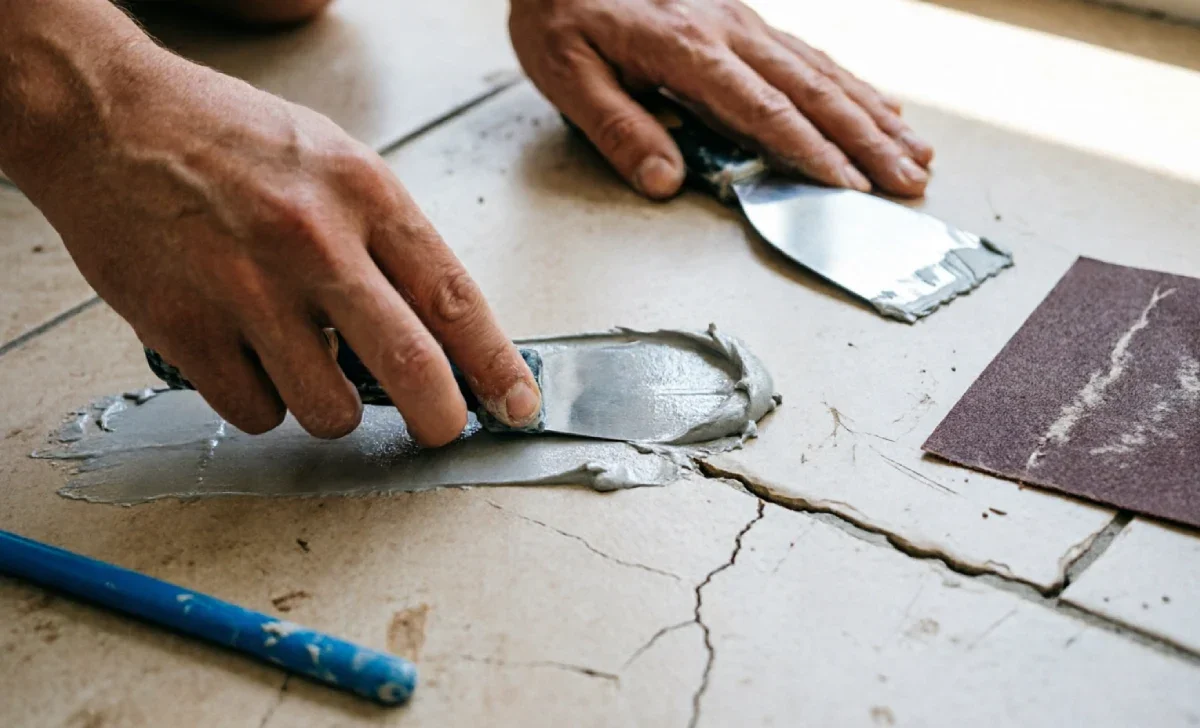
A cracked tile is annoying, not a disaster. Before you call a contractor, know this: most cracks are fixable in an afternoon. This guide walks you through real cracked tile repair methods, the tools you need, and when a crack means "replace it" instead of "patch it."
You don't need a trade license to handle this. You need patience, the right supplies, and a bit of confidence. Let's get into it.
Why Tiles Crack in the First Place
Tiles crack for a few boring but predictable reasons. Heavy furniture, dropped tools, and shifting subfloors are the usual suspects. Temperature swings can stress the grout and tile too, especially in kitchens and bathrooms where heat and moisture do their thing daily. Once you know the cause, you can stop it from happening again instead of just patching the same spot every few months.
Sometimes it's installation. A tile laid over an uneven subfloor is basically waiting to crack. That's not on you, but it does change your repair approach.
Repair or Replace? How to Decide
Here's the quick test: hairline crack, no missing pieces, tile still sits flat? Repair it. Multiple cracks, chunks missing, or the tile rocks when you step on it? Replace it. Cracked tile repair methods work great for surface damage, but they can't fix a broken bond underneath.
Check the grout lines around the tile too. Crumbling grout next to a crack usually means water's been getting in. That's a bigger job, and patching the tile alone won't solve it.
Tools and Materials You'll Need
You don't need a full workshop for this. Most cracked tile repair methods use the same short list of supplies, and you can grab everything in one trip.
| Tool/Material | What It's For |
|---|---|
| Epoxy filler | Fills hairline and small cracks |
| Tile adhesive | Reattaches loose or lifted tiles |
| Grout float | Applies and smooths grout |
| Chisel and hammer | Removes badly damaged tile |
| Sandpaper | Smooths the repair after curing |
| Sealant | Waterproofs the finished repair |
Grab a rag and a small putty knife too. Nothing fancy, just the basics that get the job done right.
Step-by-Step Cracked Tile Repair Methods
Start by cleaning the crack. Dust and grime stop epoxy from bonding properly, so wipe it down and let it dry completely first. This step gets skipped a lot, and it's the reason repairs fail early.
Next, apply epoxy filler straight into the crack with a small applicator. Work it in slowly so it fills the gap instead of just sitting on top. Let it cure for the time listed on the packaging, usually somewhere between twenty-four and forty-eight hours.
Once it's cured, sand the area flat. You want it level with the rest of the tile, not just close enough. A little elbow grease here pays off in how the floor looks later.
For color matching, most epoxy kits include tinting so the repair blends in instead of standing out like a patch job. If your tile's cracked all the way through, you might be looking at removal instead of a fill, and that pairs well with checking your other flooring options like laminate versus vinyl if you're rethinking the whole room down the line.
Finish with sealant over the repaired area. This locks moisture out and keeps your fix looking sharp for years, not just weeks.
Safety Tips While Repairing
Wear gloves. Epoxy and adhesive aren't fun to get on bare skin, and some formulas irritate it fast. Safety glasses matter too, especially if you're chiseling out a damaged section.
Keep the room ventilated. Fumes from epoxy and sealant build up quickly in small bathrooms. Crack a window or run a fan while you work, and take breaks if you start feeling lightheaded.
If you're removing a full tile, watch your grip on the chisel. Tile shards are sharp, and they fly further than you'd expect.
Preventive Maintenance to Avoid Future Cracks
Prevention beats repair every time. Seal your grout once a year, and wipe up spills before they sit. Small habits like these keep your floor solid for the long haul without much extra effort.
Add furniture pads under anything heavy. A dropped pan or dragged chair leg is usually what starts the whole cracked tile repair methods conversation in the first place, so a two-dollar pad saves you a weekend project later.
When to Call a Professional
If you're seeing cracks spread across multiple tiles, that's a subfloor issue, not a tile issue. No amount of epoxy fixes a foundation problem, and trying anyway just wastes your afternoon and your materials.
Large format tiles and natural stone also get tricky fast. These materials chip easily during removal, and a pro has the tools to swap them without damaging the tiles next to them.
Wrapping It Up
Cracked tile repair methods aren't complicated once you know the steps. Clean, fill, sand, seal, done. Most small cracks are a solo weekend project, no contractor required. And if tile repair gets you thinking about your whole floor plan, it's worth browsing other maintenance guides like carpet stain removal techniques while you're in fix-it mode.
Grab your gloves, pick up some epoxy, and give that crack the fix it deserves. Your floor will thank you.